Roof shingles fail in two ways that homeowners notice first: dripping water inside and tabs flapping outside. Both point to gaps in the roof’s first line of defense. Fixing those problems quickly prevents rot, mold, and expensive structural damage. I have repaired hundreds of shingle roofs in every season. The best outcomes come from a measured diagnosis, careful handling of the shingles, and an understanding of how water actually moves across a pitched surface. This guide walks through how I evaluate and repair leaks and loose shingles, where shortcuts hurt you, and when roof shingle replacement is wiser than another patch.
How water really travels on a shingle roof
A shingle roof sheds water the way fish scales shed water. Each course overlaps the one below it. Wind pushes rain uphill, capillary action pulls it sideways, and ice can back water under the laps. When a roof leaks, the wet patch you see inside is almost never directly beneath the exterior defect. Water will often travel along felt, decking seams, or the top of a truss for several feet before it drops through drywall. That is why good shingle roof repair starts above the visible stain and works upslope.
Ice dams complicate things in northern climates. When heat leaks from the house and warms the roof deck, snow melts and refreezes at the cold eaves. The resulting ridge traps water that backs up under shingles. If you are chasing annual winter leaks near exterior walls, look for inadequate attic insulation or poor ventilation rather than a single bad shingle.
First pass: quick triage from the ground
Before climbing, I scan with binoculars or a high-zoom phone. I look for missing tabs, broken corners, cupped shingles, or a shiny nail head flashing through. I check the ridge line for lifted caps and the valleys for debris dams. If there is a chimney, I look hard at the up-slope side where step flashing should alternate with each course. Around vent stacks, I look for cracked rubber boots. Solar arrays and satellite mounts often create penetrations with questionable sealing. All of this tells me whether I am walking into a localized failure or a broader aging problem that might justify roof shingle replacement.
If the roof seems generally tired, I will ask how old it is. Three-tab shingles tend to last 15 to 20 years in mild climates, less under harsh sun or frequent hail. Architectural shingles commonly run 20 to 30 years if installed right. If brittle edges break under light finger pressure, you are dealing with an end-of-life surface where spot repairs become bandages, not cures.
Safe setup and tools that make the difference
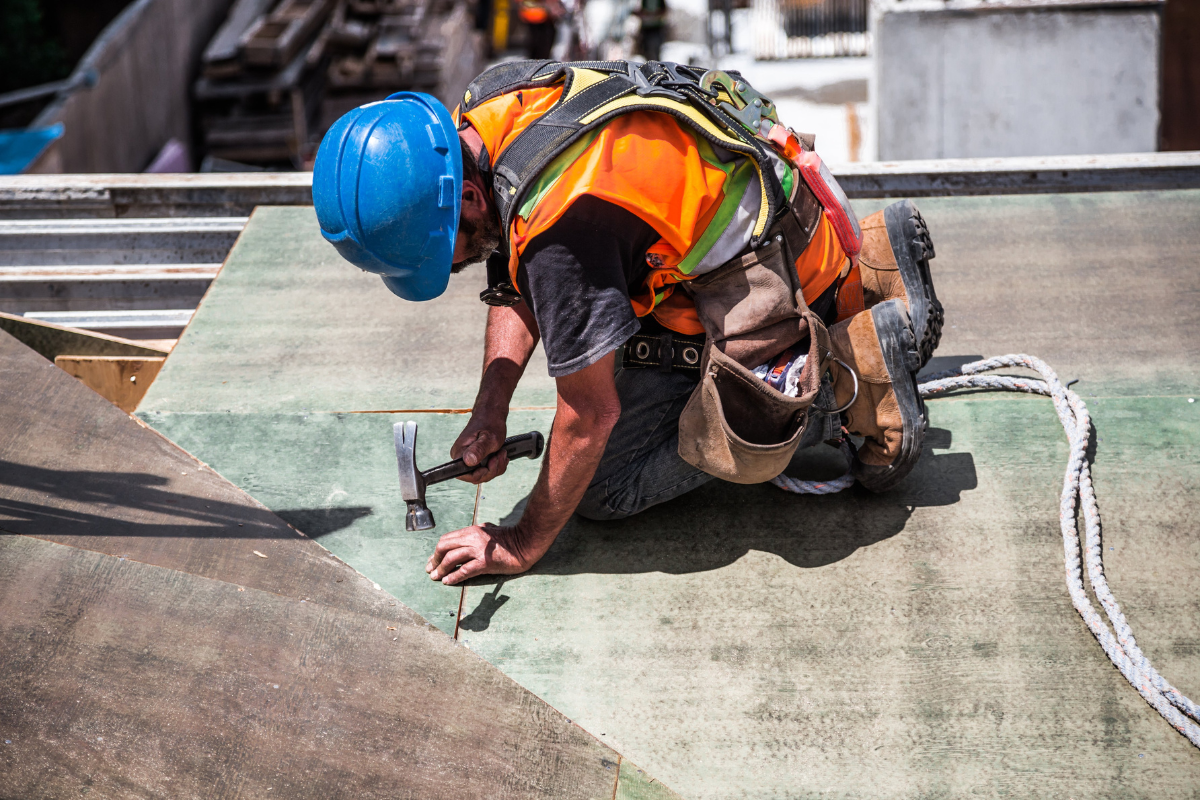
Ladders should extend at least three feet above the gutter line with a stable base and a 4-to-1 angle. I clip in on anything steeper than a 6/12 pitch or if the deck is wet or dusty. Footwear matters; soft-soled shoes grip granules without grinding them off. Avoid walking valley centers, which are slick and vulnerable.
The kit I carry for most shingle roofing repairs includes a flat bar, roofing hammer, hook blade, utility knife, box of 1.25 to 1.75 inch roofing nails, a small hand seamer, sealant rated for asphalt shingles, a caulk gun, asphalt roofing cement in a can, corrosion-resistant screws with neoprene washers for accessory parts, step flashing pieces, and spare shingles that match or are neutral blends like weathered wood. For leak detection, a headlamp and moisture meter are worth their weight, and on complex cases I bring a garden hose for controlled testing once the roof is dry and safe.
Finding the true source of a leak
You can chase water marks for hours if you do not work methodically. I start inside, locate the stain, and measure its distance from the nearest wall and the ridge. In the attic, I follow the damp path on the underside of the sheathing. Dark trails often lead to a nail head, a seam, or a penetration. Drip marks on a nail head point to condensation or nail pops. Drips that appear only in wind-driven rain point to lifted shingles or failed seal strips. Leaks that show up after long, steady rain can be valley- or flashing-related.
If the attic is dry and the stain persists, I look for HVAC ducts or bath vents dumping moist air into the space. That moisture condenses on cold decking and mimics a roof leak. Venting fixes those cases, not shingles.
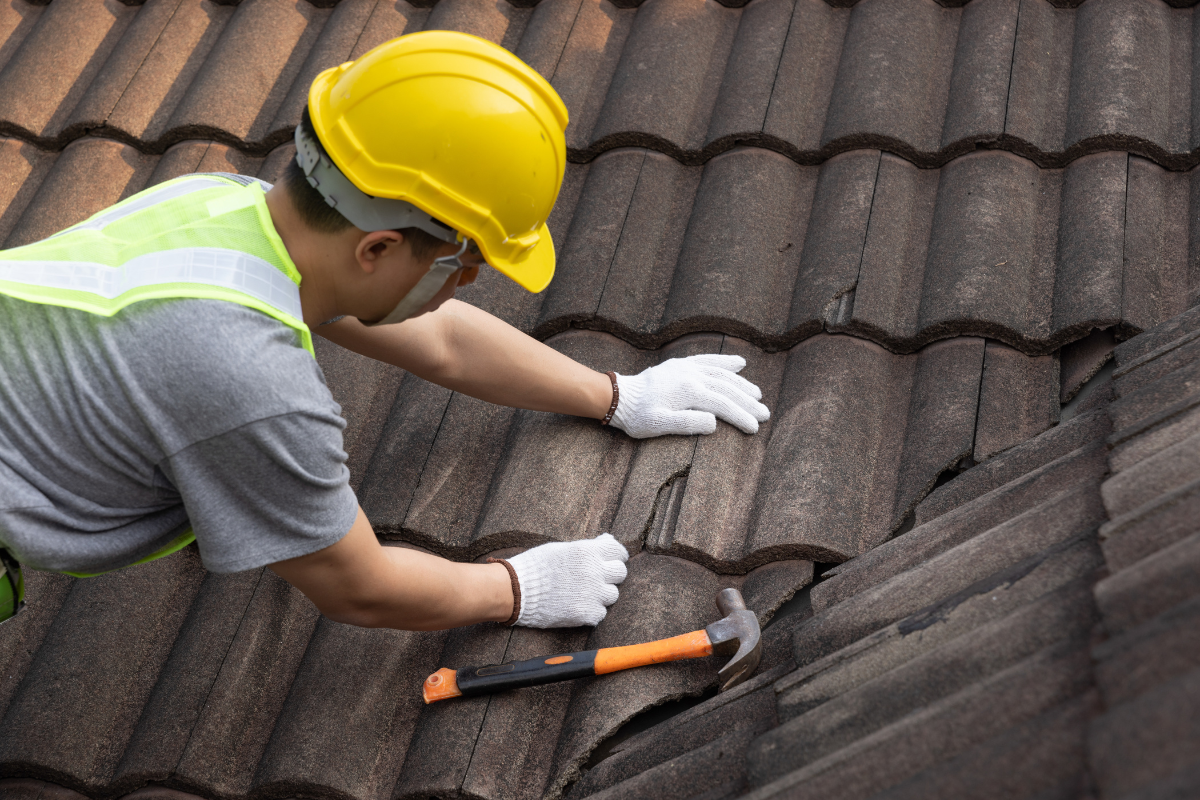
Once outside, I start upslope of the suspected area and lift tabs gently with a flat bar. I do not pry on brittle shingles in midday heat or freezing cold. Heat softens the asphalt and tears; cold snaps it. Early morning in mild weather is best. I look for tar lines that no longer bond, nails driven too high, shiners that missed the deck, and widened keyways. If I find a nail head that sits on a seam or in a water path, I mark it for reset and seal.
Repairing a loose shingle tab
Loose tabs come from failed seal strips, wind uplift, or installer error. Mall-crawled roofs where crews rushed often show stingy nails or nails too high above the exposure line. Wind then flexes the unbonded lower edge until it cracks or creases.
To re-secure a sound shingle, I lift the tab just enough to access the nailing zone. I drive two nails into the designated area, usually just below the self-seal strip and above the cutout lines, taking care to hit the deck, not the joint between boards. Nails should be flush, not sunk. Overdriven nails cut the mat and will leak later. I add a pea-sized dab of asphalt sealant under the corner and press it down. Too much glue creates a dam and telegraphs through. On hot days, the factory seal strip may rebond on its own after you press it back into place.
If the tab has creased from long-term flapping, it will be weak even if you glue https://paxtonmwgk837.lowescouponn.com/budgeting-for-roof-shingle-installation-what-to-expect it. Replace the shingle instead of gambling on sealant.
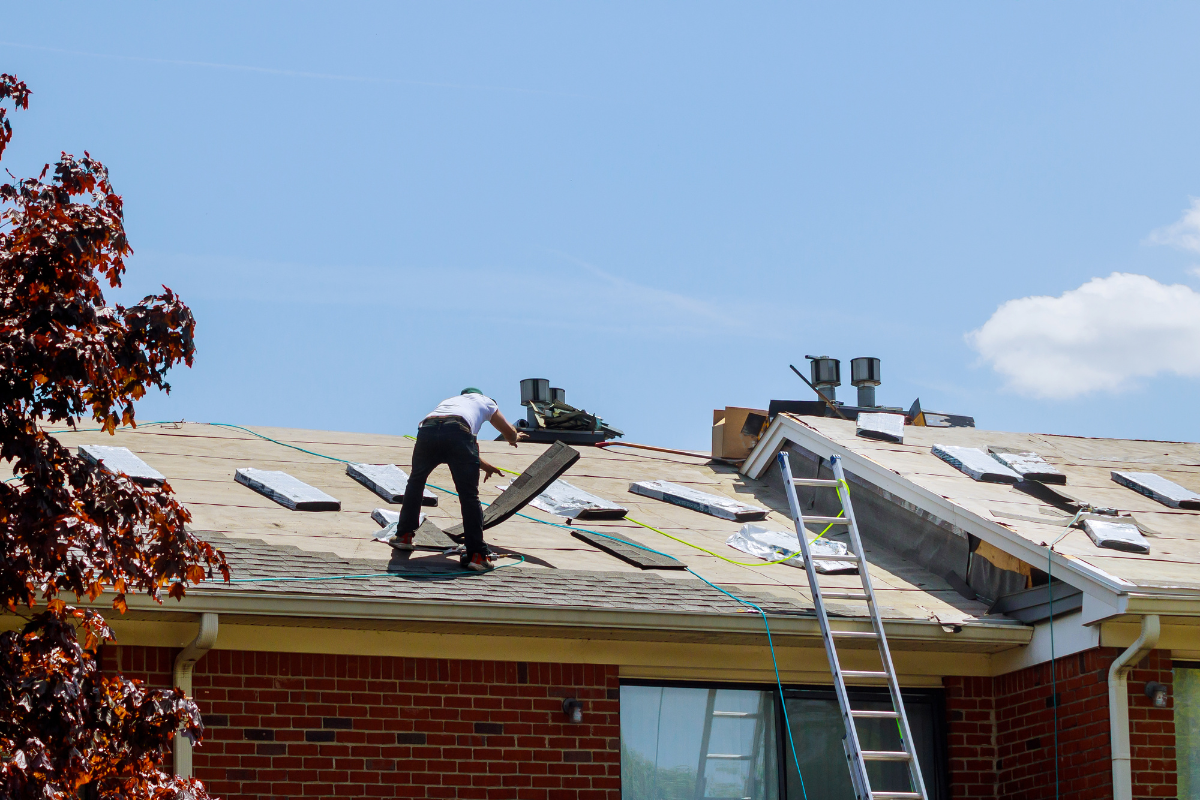
Replacing damaged shingles without creating a mess
A clean shingle swap is a small art. You work from the damaged shingle up, freeing nails without destroying neighbors. I start by sliding the flat bar under the shingle two courses above the target to pop the nails that hold the one directly above. Then I break the seal on the surrounding tabs with my fingers or a bar, sliding rather than prying to avoid granule loss. Once the nails above are free, the damaged shingle’s nails are accessible. I remove them, slide the shingle out, and vacuum or brush loose granules from the felt so the replacement sits flat.
I trim the new shingle if needed to match the exposure and keyway pattern. In older roofs, asphalt has shrunk a bit, and the new piece may be a fraction larger. If you cram it, it will buckle when temperatures change. I prefer to shorten at the top, not the bottom edge, so the exposure aligns. Nail the new shingle in the manufacturer’s nailing zone, usually four nails on standard slopes or six in high-wind zones. Then re-nail the lifted shingles above and add a small sealant dab under corners if the day is cool and the strip will not bond immediately.
One caution: never leave exposed roofing cement smeared above the exposure. It collects dust, looks sloppy, and cracks under UV. Use sealant under the shingle where it stays protected.
Nail pops and shiners
Nail pops happen when a nail misses the rafter, a plank seam swells, or temperature cycles push fasteners out. They create a high spot under a shingle tab. Wind-driven rain finds that bump and sneaks in. I do not just bang the nail back. I pull it, fill the hole with sealant, and place a new nail 1 to 2 inches away into solid decking. Then I seal the shingle over the spot. On shiners, where the nail never hit wood and dangles from the shingle above, I remove it and correct the fastener pattern. If multiple shiners cluster, that section may have been installed too fast or with a dull air gun. Expect more surprises.
Valleys: where small errors become big leaks
Valleys handle the most water on a shingle roof. I see three common valley styles: woven, closed-cut, and open metal. Woven valleys can work, but they do not like architectural shingles, which are thicker and can bridge rather than lay tight, leaving channels. Closed-cut valleys look neat but depend on accurate cutting and generous underlayment. Open metal valleys perform well if the edges are hemmed and the shingle cut line stays an inch or more off the center.
When a valley leaks, debris almost always plays a role. Leaves trap moisture and rot the mat. I clear the valley fully first, then inspect for shingle notches cut too close or nails driven into the valley line. If I find nails within 6 inches of the valley center, I relocate them and patch with flashing and cement under the shingle, not on top where water can catch. Larger failures need a valley reline, which means lifting shingles back three feet on either side, installing ice and water shield, and reinstalling or replacing the surface. Plan this on a dry, mild day and work from the bottom up so laps shed.
Flashings around chimneys, walls, and skylights
Most chronic leaks trace back to flashing, not the field shingles. Step flashing works like miniature shingles, each piece lapping the one below and weaving with each course. Counterflashing on masonry should be let into a reglet cut and sealed, not surface-glued. When I see continuous L-flashing with no steps at a sidewall, I mentally schedule a return trip, because it will fail.
To correct bad flashing, I remove siding or counterflashing as needed, then install individual step pieces with each shingle course. Nails go on the vertical leg into the wall or deck, never in the valley where water runs. A bead of high-quality sealant between step and wall is secondary. The laps and gravity should do the work. For skylights, I check that the manufacturer’s kit is intact. Replacement gaskets and curb lips are available for common brands and fix many leaks without reinventing the system.
Cracked rubber boots at plumbing vents are small parts with big impact. UV breaks them down in 7 to 15 years. If the roof is otherwise healthy, a new boot with a proper storm collar solves it. On odd pipe sizes or stubborn leaks, I add a small skirt of ice and water shield under the shingles and up the pipe before the new boot.
Granule loss, curling, and the judgment call
A roof can be watertight and still be near the end. Look for bald patches where asphalt shines through, widespread curling, blistering, and a trough of granules in the gutters after every rain. If a roof has multiple active leaks, brittle shingles that snap when lifted, and a shaggy appearance across slopes, piecemeal roof shingle repair becomes false economy. In those cases, I have the replacement conversation and talk about timing, budget, and what to improve during roof shingle installation so the next roof lasts longer.
Upgrades that deliver value include a full ice and water membrane along eaves and valleys in snow zones, better attic ventilation, ridge vent plus adequate soffit intake, and high-wind nailing patterns in storm-prone regions. A quality shingle roofing contractor will also check deck condition and replace spongy or delaminated panels rather than covering over trouble.
Weather windows and temperature realities
Shingles bend and bond differently depending on temperature. Below roughly 40 to 45 degrees Fahrenheit, seal strips may not activate. You will need to manually seal edges, and even then they may not fully bond until spring. In peak summer heat, asphalt softens, and footprints can scar the surface. Early morning repairs avoid both extremes. After rain, wait for the surface to dry. Wet felt tears easily and is treacherous underfoot.
Wind matters too. Do not lift tabs on a breezy day. You can create sails that rip the moment you turn your back. Temporary weights like sandbags help, but the safest approach is to pick a calmer window or tack down as you go with just enough nails to hold while you work.
Matching shingles on older roofs
Even if you know the original brand and color, a 12-year-old weathered roof will not match new stock. Sun fades pigments and rounds edges. I aim for a neutral blend if an exact match is unavailable, and I avoid scattering patches across the most visible faces of the house. If many repairs are needed on the front slope, I sometimes suggest swapping a few intact shingles from a less visible slope to the front for cosmetic consistency, then using the new shingles on the hidden side. It adds labor, but the face looks uniform.
Adhesives, cements, and the temptation to smear
There is a place for adhesives, but they are not a cure-all. I use polyurethane or butyl-based sealants under tabs in cold weather or under small flashings. Thick roofing cement has its uses under the shingle where it will not see the sun. What I avoid is surface smearing on exposed areas. Cement becomes brittle, cracks, and traps dirt that accelerates wear. Over-applied glue also blocks drainage and can redirect water into nail holes. Use a light hand and keep the path of water in mind with every dab.
Preventive habits that extend a shingle roof’s life
Small routines keep problems small. Twice a year, I walk the property and look up. After storm events, I spot-check again. Trim tree limbs that brush or overhang the roof. Clean gutters and downspouts so water does not back up at the eaves. Keep valleys clear of leaves. From the attic, check for daylight at chimneys and penetrations and look for rusty nail tips that indicate condensation. If you hear flapping on windy nights, do not wait until the next rain. Address lifted tabs quickly while the fix remains minor.
When a patch is fine, and when to plan a roof shingle replacement
A single missing shingle after a storm, a cracked vent boot, a lifted corner at a dormer, or a nail pop near a ridge, all are perfect candidates for targeted roof shingle repair. They are quick, inexpensive, and restore the system’s integrity. Repeating leaks in the same area despite proper flashing, widespread brittleness that makes every lift a tear, or a roof past its expected lifespan, those point toward replacement. If decking is soft in multiple spots, the underlying wood is telling you it has been wet too long. At that point, fresh shingles over compromised decking will not last.
I often advise homeowners to tie repairs to a plan. If a roof is within two years of replacement and a minor storm rips a few tabs, keep the repair minimal and save budget for the larger job. If a 7-year-old architectural shingle loses a handful of tabs in a known wind tunnel by the garage, invest in a robust local fix with six-nail patterns, adhesive assist, and perhaps upgraded starter strips to calm that zone.
Working with a shingle roofing contractor
Not every homeowner wants to climb roofs or learn shingle anatomy. A good shingle roofing contractor brings calibrated judgment, matching materials, and a warranty. When you call for service, be ready with details: when the leak appears, which storms trigger it, where stains show, and any history of previous fixes. Ask the contractor to explain the path of water and show how the repair addresses it. If the answer is simply “we will smear tar on it,” keep looking.
During roof shingle installation or replacement, I appreciate clients who ask about nails per shingle, underlayment choices, and ventilation. Six nails in high-wind zones, synthetic underlayment with ice and water shield where needed, and a balanced intake and exhaust plan add more life than any cosmetic upgrade.
A step-by-step field repair example: lifted tabs at a dormer sidewall
This is a simple, real-world sequence that avoids common mistakes.
- Confirm the leak source. Inside, the stain is 18 inches to the right of the dormer corner and two feet down from the ceiling. In the attic, water trails point to the dormer sidewall. Prep the work zone. Set the ladder, rope off, and clear loose debris from the dormer area with a soft brush. Lift and inspect. Ease up the first two courses next to the sidewall. Find underlapped step flashing short by one piece and a lifted tab with failed seal strip. Correct flashing. Remove the bottom siding or counterflashing along three courses. Install new step flashing, one piece per shingle course, with the vertical leg tight to the wall, then reinstall siding or counterflashing with a clean reglet and seal. Re-secure shingles. Place two nails in the correct nailing zone on each lifted tab, add a pea-sized sealant bead under corners, and press to bond. Water-test gently from the bottom up to verify no intrusion.
That sequence takes an experienced tech about 60 to 90 minutes if materials are on hand. It solves the cause rather than masking the symptom.
Costs, timing, and what to expect
Budget for small roof shingle repair in the range of a few hundred dollars when the fix involves one to three shingles, a boot, or a simple nail pop correction. Complex flashing work around a chimney or a partial valley rework often runs into the low thousands depending on access, pitch, and materials. Roof shingle replacement is a different conversation, influenced by region, shingle grade, tear-off vs overlay rules, and roof complexity. A straight gable with mid-grade architectural shingles might land in a broad range per square of roof area, while cut-up roofs with multiple dormers cost more per square due to labor.
Expect schedules to flex around weather. Responsible contractors do not open valleys or flashings with rain on the radar. Seasonal demand also matters. Spring and fall fill quickly. If you can plan non-urgent work in shoulder weeks, you often get more attentive scheduling.
The quiet value of proper roof shingle installation
Many of the repairs I make spring from avoidable installation lapses. Nails placed too high, skipped step flashing, starter strip misaligned, and valleys nailed too tight are the greatest hits. Quality installation sets up every later repair for success. A roof put on with correct exposure, fastener count, and flashing details handles storms with grace and gives you a calm attic. When trouble does come, a cleanly installed system is easier to diagnose and fix because water behaves predictably.
If you are evaluating a contractor, ask to see their nailing pattern in action, not just a brochure. Ask how they treat valleys on your roof style, whether they weave or cut, and why. Ask what underlayment they are using and where they place ice and water shield. Listen for answers that respect gravity, wind, and the manufacturer’s instructions rather than tradition alone.
Final thoughts from the field
Shingle roofing is forgiving, up to a point. It tolerates small errors and years of weather, then it fails steadily rather than suddenly. That gives you time to act. A disciplined inspection after big storms, fast attention to lifted tabs, and real fixes at flashings prevent most leaks. When repairs pile up on an aging surface, shift your mindset to a planned roof shingle replacement and use that project to address ventilation, insulation, and any deck issues. Whether you tackle small tasks yourself or bring in a shingle roofing contractor, the guiding idea is simple: respect the water path, and make every lap, nail, and sealant bead serve that path. If you do, the roof will do its quiet job for years at a time, and the first sign of rain will no longer send you to the attic with a flashlight.
Express Roofing Supply
Address: 1790 SW 30th Ave, Hallandale Beach, FL 33009
Phone: (954) 477-7703
Website: https://www.expressroofsupply.com/
FAQ About Roof Repair
How much should it cost to repair a roof? Minor repairs (sealant, a few shingles, small flashing fixes) typically run $150–$600, moderate repairs (leaks, larger flashing/vent issues) are often $400–$1,500, and extensive repairs (structural or widespread damage) can be $1,500–$5,000+; actual pricing varies by material, roof pitch, access, and local labor rates.
How much does it roughly cost to fix a roof? As a rough rule of thumb, plan around $3–$12 per square foot for common repairs, with asphalt generally at the lower end and tile/metal at the higher end; expect trip minimums and emergency fees to increase the total.
What is the most common roof repair? Replacing damaged or missing shingles/tiles and fixing flashing around chimneys, skylights, and vents are the most common repairs, since these areas are frequent sources of leaks.
Can you repair a roof without replacing it? Yes—if the damage is localized and the underlying decking and structure are sound, targeted repairs (patching, flashing replacement, shingle swaps) can restore performance without a full replacement.
Can you repair just a section of a roof? Yes—partial repairs or “sectional” reroofs are common for isolated damage; ensure materials match (age, color, profile) and that transitions are properly flashed to avoid future leaks.
Can a handyman do roof repairs? A handyman can handle small, simple fixes, but for leak diagnosis, flashing work, structural issues, or warranty-covered roofs, it’s safer to hire a licensed roofing contractor for proper materials, safety, and documentation.
Does homeowners insurance cover roof repair? Usually only for sudden, accidental damage (e.g., wind, hail, falling tree limbs) and not for wear-and-tear or neglect; coverage specifics, deductibles, and documentation requirements vary by policy—check your insurer before starting work.
What is the best time of year for roof repair? Dry, mild weather is ideal—often late spring through early fall; in warmer climates, schedule repairs for the dry season and avoid periods with heavy rain, high winds, or freezing temperatures for best adhesion and safety.